I was so excited today to walk in my garden after a long weekend away and find the bush beans had gone from blooming to bearing. I have some photos to show the "processing" of the beans from garden picking to preparing for lunch.
 |
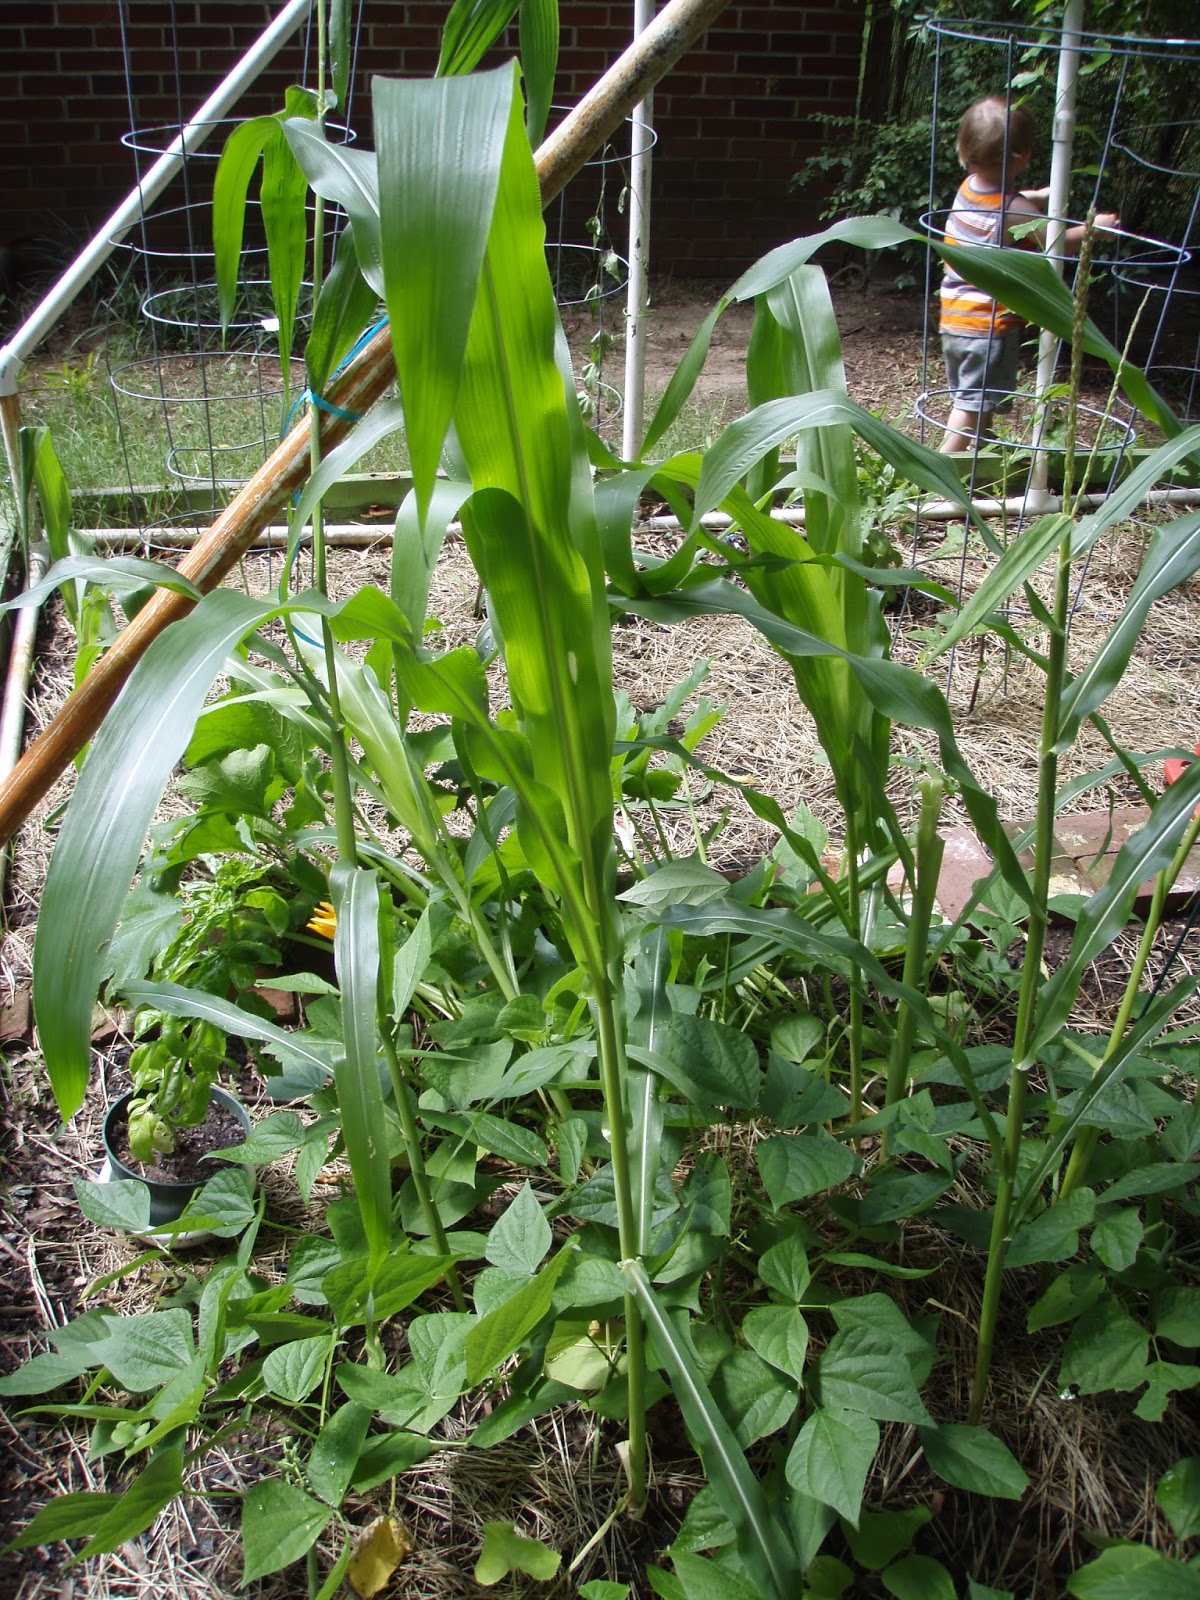
| This is my little helper, adding extra dirt to the beans. |
 |
| Beans should be watched daily as early as 2 weeks after blooms are spotted. They are best picked when the pods have filled out but the beans aren't full size. By that, I mean you should see some bumps indicating the beans, but you don't want giant bulges. Also, I like to harvest mine to be like haricot verts, (green beans in French). This is when the pod diameter is approx. 1/8" in diameter. I don't like to go much over 1/4". |
 |
| Snap the ends off and prepare other veggies if you want. I had some leftover zucchini that needed to be eaten. |
 |
| Blanch the beans. Bring a pot of water to boil. Drop in the beans. Boil for a minute or so. They will get a very pretty green color, slightly brighter. |
 |
| Drain the beans. |
 |
Secret ingredient: real butter. You can also use oils. Melt on medium high.
|
 |
| Throw the beans in when the butter is barely starting to brown. Stir to coat. |
 |
| After about 2 minutes, add the other (softer) veggies. (If you have added other vegetables that require blanching like broccoli, then add them with the green beans.) |
 |
| Season! I add garlic powder, sea salt, and an herbal antioxidant blend (dried basil, parsley, nettle, rosemary, oregano, dandelion leaf). This blend came from an herb society workshop. When it is gone, I plan to make more! |
 |
| When the zucchini is slightly golden and not yet limp, it is ready. If you didn't do zucchini, just pick out a bean and test it for firmness. |
 |
| Add any more seasoning or fresh herbs as needed and enjoy hot. |
Written 06/12/16.


No comments:
Post a Comment